spring boot로 jsp 사용하여 만들기
by 으렴


		<!-- jsp 지원 -->
		<dependency>
			<groupId>org.springframework.boot</groupId>
			<artifactId>spring-boot-starter-test</artifactId>
			<scope>test</scope>
		</dependency>

		<dependency>
			<groupId>org.apache.tomcat.embed</groupId>
			<artifactId>tomcat-embed-jasper</artifactId>
			<scope>provided</scope>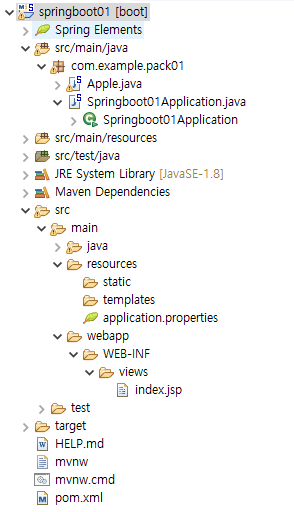
</dependency>src/main/webapp/WEB-INF/viewsindex.jsp 생성
spring.mvc.view.prefix=/WEB-INF/views/
spring.mvc.view.suffix=.jsp
어플리케이션프로퍼티스
<%@ page language="java" contentType="text/html; charset=UTF-8"
 pageEncoding="UTF-8"%>
<%@ page import="java.util.*, java.text.*"%>

<head>
  <title>메인 페이지</title>
</head>

<body>
  <%=new Date()%>
  <h2>Hello World</h2>

  <a href="t1">링크</a>
</body>
저거 누르면 boot에서 제공하는 404
package com.example.pack01;
import org.springframework.stereotype.Controller;
import org.springframework.web.bind.annotation.RequestMapping;
import org.springframework.web.bind.annotation.ResponseBody;
import org.springframework.web.bind.annotation.RestController;
//@RestController
//public class Apple {
//
//// @RequestMapping("/")
//// public String root() {
//// System.out.println("방법1 Apple Call");
//// return "Apple Call";
//// }
//
// @ResponseBody
// @RequestMapping("/")
// public String root() {
// System.out.println("방법2 Apple Call");
// return "Apple Call";
// }
//
//
//
//
//
//}
@Controller
public class Apple {
@RequestMapping("/")
public String f1() { // 함수 이름을 확 바꾸었다.
System.out.println("곧 index.jsp 실행");
return "index";
}
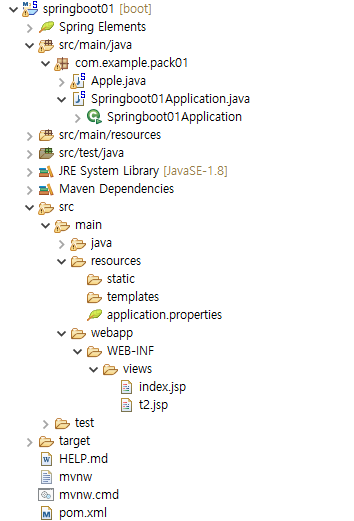
@RequestMapping("/t2")
public String f2() { // 함수 이름을 확 바꾸었다.
System.out.println("나는 t2");
return "t2";
}
}
'Web > SPRING' 카테고리의 다른 글
| SpringBoot 자동 설정 (0) | 2019.03.30 |
|---|---|
| SPRING-mybatis-Oracle 연결하기 -3 (0) | 2018.12.21 |
| SPRING-mybatis-Oracle 연결하기 -2 (0) | 2018.12.20 |
| SPRING-mybatis-Oracle 연결하기 -1 (0) | 2018.12.19 |
| SPRING 한글 처리하기 (0) | 2018.12.18 |
사이트의 정보
코딩하렴
으렴